As well as this blog, I also have a website and Instagram page with lots more images of my work as well as a few more stories.
If you like woodcarvings, you might want to have a look.
Showing posts with label jewellery. Show all posts

Monday, 15 January 2018

Making replicas of the earliest objects made by woodturning ever found in Britain, from Whitehorse hill on Dartmoor

I like woodturning. It's a nice compliment to my carving work and there's also something that feels quite relaxing about putting the tools to the spinning timber and watching the shapes develop.

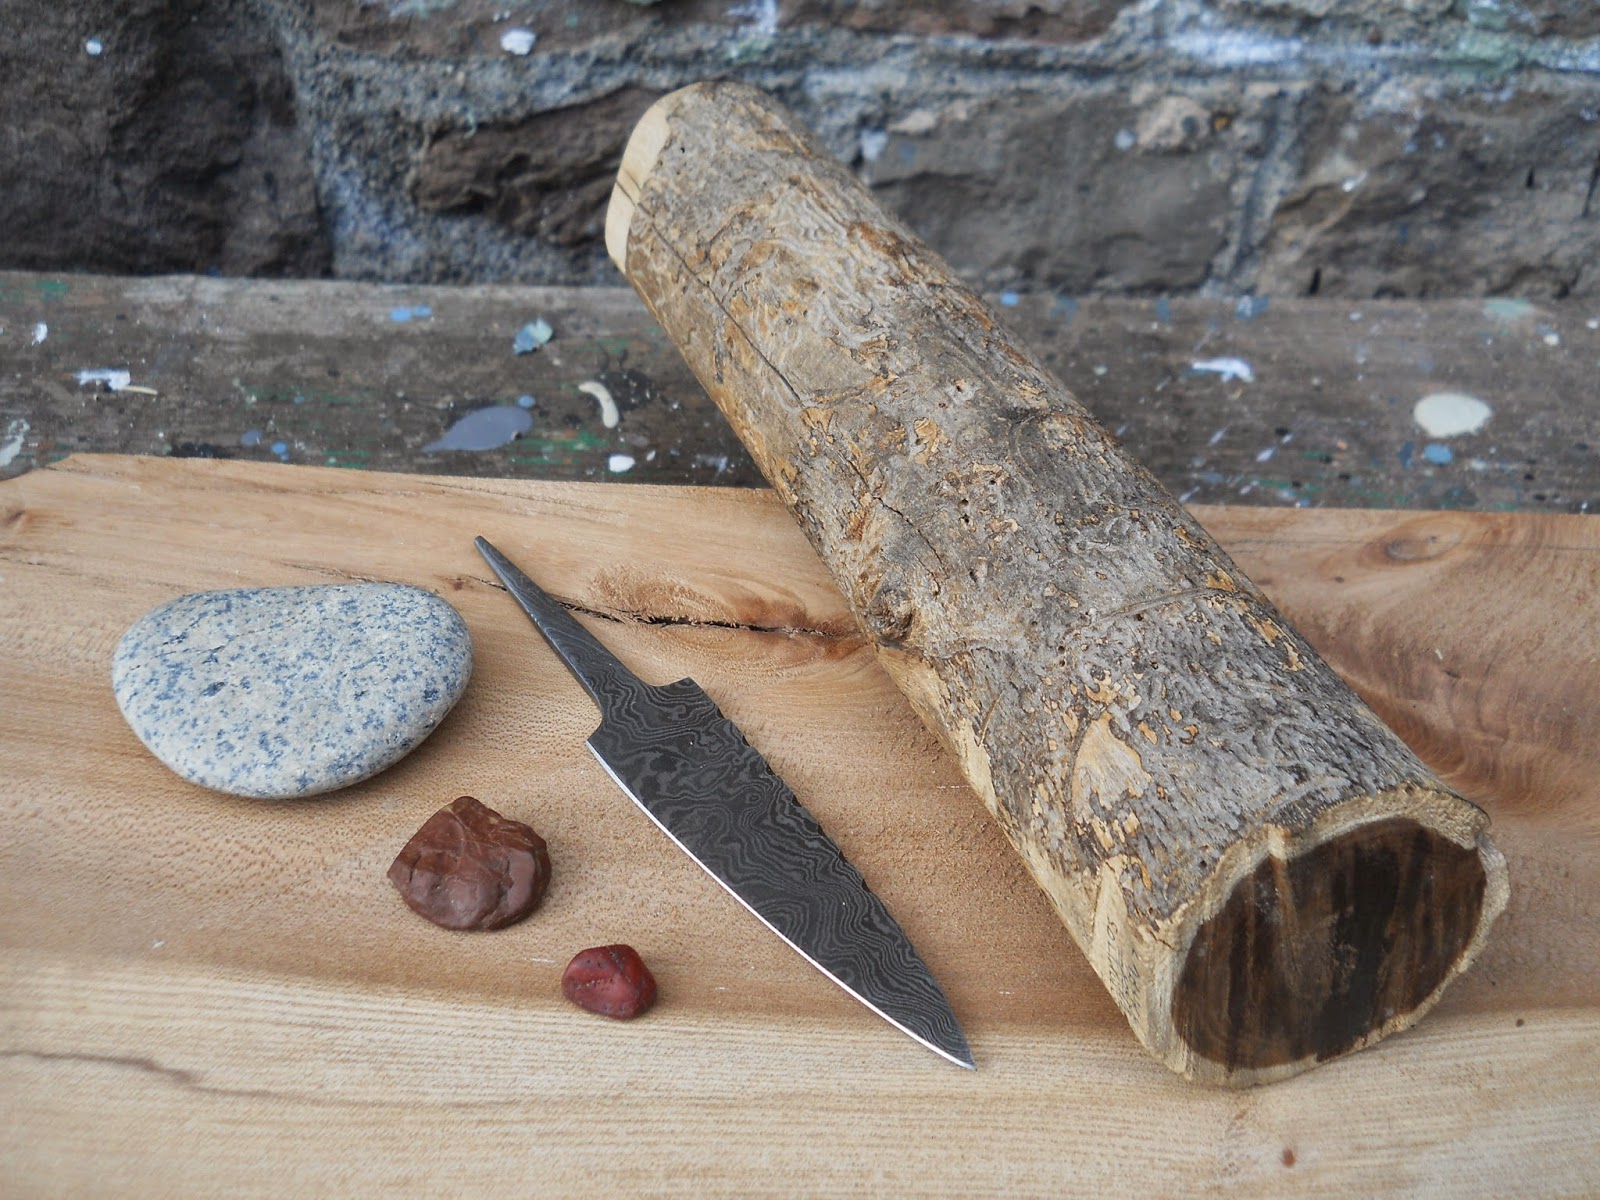
There have been a couple of commissions recently that have allowed me to do some turning and which have also been a little more challenging. Making some of the components for the instruments that are now installed in St Werburghs Community Centre meant turning larger pieces than I've worked on before. 

Woodturning on Myford ML8 lathe

I was also asked by a local furniture maker called Dave Porter to turn eight discs, 60mm (2.36") wide, from European oak to decorate some furniture that he was making. It was a nice test of skill to try and make the discs as similar as possible, whilst turning them by hand. Both of us were happy with the outcome. Here they are, with one spare:


woodturning oak

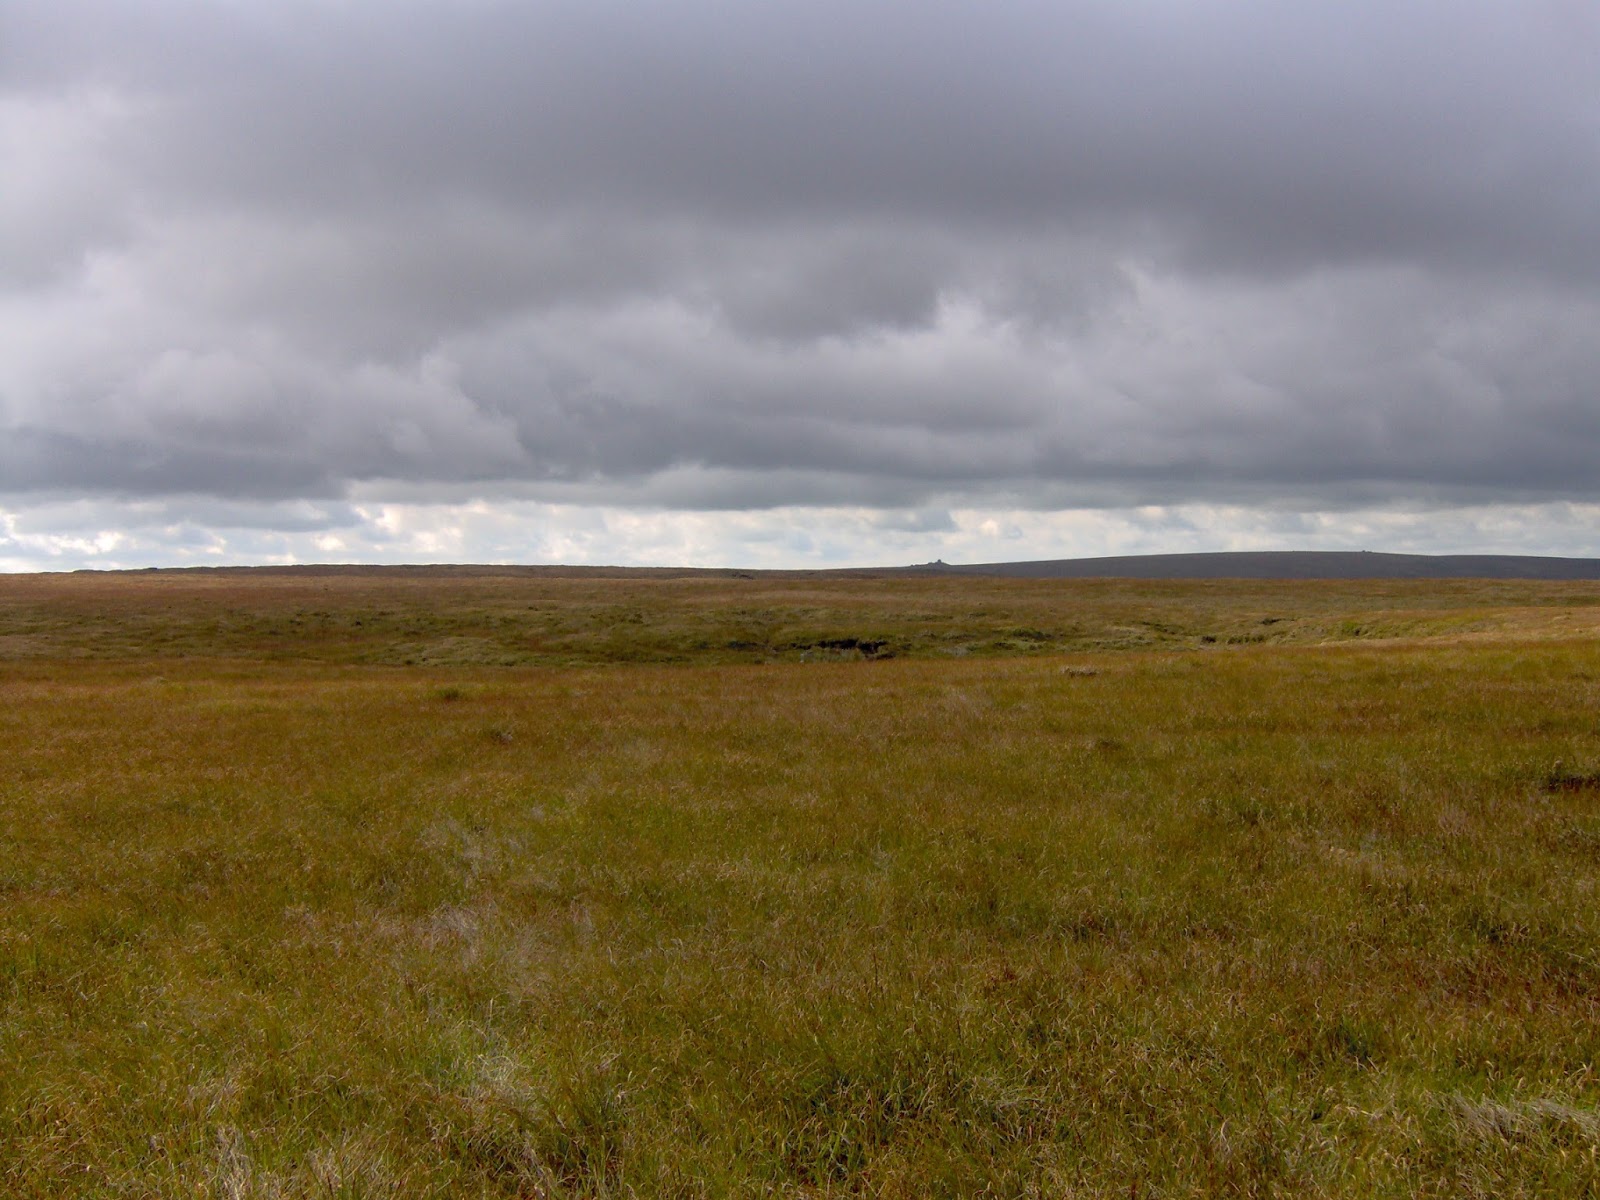
After making these commissions, I came across the story of the Whitehorse hill burial

This Bronze Age burial happened nearly four thousand years ago in what is now the wild, empty middle of Dartmoor national park - a place that is very important to me. This view, taken near Whitehorse hill, shows what the area looks like:


Dartmoor landscape

In 2001, a walker found a small, rectangular burial chamber made from stones protruding from a remanent 'hag' of peat, which had been left standing as the peat surrounding it was cut away. These small stone boxes or chambers are known as kists, cists or kistvaens.

The erosion of the peat stack had uncovered the kist and one of the stones had fallen. The rest looked like it could also fall out at some point soon, so the decision was made to open the burial and see what was inside. This was even more exciting as most kists on Dartmoor have been excavated or robbed at some point but this one, having been hidden underground in a fairly remote part of the moor, was probably intact.


Whitehorse hill Bronze Age kist
Image by Cornwall Archaeological Unit, from https://www.archaeology.co.uk/articles/cist-whitehorse-hill.htm

In 2011, the kist was opened. Inside, well preserved by the peat (which excludes oxygen so preventing the decay of organic matter), was a bundle wrapped in an animal pelt, thought to be from a bear.

The contents of the bundle were the cremated remains of what is believed to have been a woman of high status, aged somewhere between 15 and 25 years old. The presence of a necklace and absence of weapons in the burial led researchers to think the deceased was probably female. She was buried in August or September (from the purple moorland grasses laid on the floor of the kist at the time). On top of these grasses was laid what looks like a woven belt or sash decorated with calfskin leather, then the wrapped cremation on that.


Apart from the remains, the wrapping held a woven bag made of lime bast (the fibres under the bark of a lime tree). This contained several objects: a necklace made from beads of clay, shale, amber and also a single bead of tin, a flint flake, a copper pin, a woven cattle hair band or bracelet decorated with small tin beads and two pairs of wooden discs. 


Image from https://new.devon.gov.uk/historicenvironment/latest-news/bears-and-beads-on-whitehorse-hill/
These wooden discs are the earliest examples of wood turning ever found in Britain. They could have been ornaments fitted into a leather bag or belt, but most people think that they were body ornaments, similar to modern ear expanders. They would have been worn in stretched ear piercings, or perhaps in lip, nose or cheek piercings. 

Some think that the smaller studs were perhaps the intermediate ones used as the hole was being stretched, before the larger ones were worn. Personally, I think they might have been worn at the same time as they show similar amounts of wear and were buried together.

The wooden discs were turned from tough, pale coloured spindle tree wood, a native species which still grows around the edge of the moor. At the time of the burial, this area would have been much more wooded than now. It's strange to imagine what the person who wore these wooden ornaments was like; speaking a language that we wouldn't understand in the present day but perhaps knowing some of the many stone monuments, such as the double circle at Greywethers, that still stand not far from where they were buried and that we can still visit.


Greywethers stone circles on Dartmoor

Radio carbon dating from underneath the fallen stones of nearby Sittaford Tor circle returned a date of about four thousand years ago, so the circle itself is probably older than that. This means the person buried at Whitehorse Hill would have known it and probably visited it as well.

I couldn't resist having a go at recreating the discs myself! We have some idea of what Bronze Age woodturning was like, having images preserved from ancient Egypt. A note about the picture: the lathe would have been horizontal even though conventions in ancient Egyptian art mean that it's illustrated standing vertically.


Image from http://www.turningtools.co.uk/history2/history-turning2.html

These sources helped woodturner Stuart King to recreate the making of the wooden discs for a programme called 'Mystery of the Moor'.


I had to cheat a bit, as the method Stuart King used requires two people to work best and also because I don't have the appropriate reproductions of Bronze Age tools at the moment (although I'm very tempted to acquire or make some now!). It was still fun to make replicas of these objects that connect us to that ancient and mysterious time. 


woodturning

I had some seasoned spindle tree wood that was suitable, and the discs finished well. After turning, I put some natural nut oil onto them, to bring out the colour of the wood and stop them getting too grubby - a beeswax finish could originally have been used but it tends to attract dirt. The larger turnings are 25mm (1") and the smaller ones 15mm (0.59") in diameter.

Whitehorse burial wooden ear ornaments

Here's my friend Sion wearing a pair of discs very similar to those found in the kist at Whitehorse hill, but slightly larger than the bigger ones found in the burial at 30mm (1.18") wide. He said that they are very comfortable to wear and they were also tough enough to withstand a good deal of partying last weekend!


ear stretchers


ear expanders

Wednesday, 4 March 2015

Making a carved wooden brooch with a celtic design, to be worn as a kiltpin

A kiltpin is traditionally worn pinned to one corner of the front of a kilt. It's not supposed to go through both of the layers of material underneath, as this would make the kilt move badly and could possibly damage the material. Instead it is more of a decoration on the kilt's apron (the flat, unpleated part worn to the front).

The origin of wearing a kiltpin is thought to go back to Queen Victoria using a hat pin to secure her kilted skirt on a windy day. I had made a sgian dubh (the knife carried in one's sock -called the 'hose'- with a kilt) and wanted to make a matching kiltpin to go with it. Obviously, it had to be carved too!


The kiltpin is 50mm (2") in diameter. The yellowish wood is box (Buxus sempervirens) wood, which I picked up whilst out walking in Gloucestershire. Box is a native tree in Britain and a traditional use for the timber is in wood engraving plates. It was the ideal wood for the kiltpin as it is very tough but carves well and can take a good finish. You can see the piece of found wood with the sanded start of the kiltpin in this picture:


It is inlaid with laburnum from the garden of the house that I grew up in - the same wood used to make the handle and sheath of the sgian dubh. Apparently my father would hang a hammock from this tree for my mother to rest in when she was pregnant with me.

There are also three pieces of solid silver inlay and the central setting is a piece of microgranite that originally came from Ailsa Craig. This interesting stone is also set into the end of the sgian dubh and you can read more about it here.

The boxwood was sanded to shape to begin with. The stone to go in the centre was then ground to shape with diamond burrs and polished.


Once the position of the stone setting was known, marked and hollowed out then the rest of the design could be drawn on with a pencil...


... before being carefully carved using my Opinel lock knife. No tricks for that part of the process, just a lot of practice and a sharp blade! The holes for the silver inlay were drilled and then the stone and silver were fixed in with two-part epoxy.


The pin on the back was fixed on using epoxy and three small brass rivets to give extra security.


Here's the kiltpin with the sgian dubh. If you are interested, I would consider commissions to make similar ones. Now I'm looking forward to seeing the knife and pin being worn with the kilt!

sgian dubh and kiltpin


Thursday, 19 February 2015

Making my own sgian dubh (the knife traditionally worn with a kilt)

I'm in the process of buying a kilt and wanted to wear the traditional knife in my hose (sock). Looking at ones online, they were either well out of my price range or looked a bit tacky (covered in thistles and saltires etc.)

Being a woodcarver with a particular interest in knife carving there was no chance that I was going to wear something that impersonal, or carry about a blunt blade for that matter. So I decided to make my own.


 What is a sgian dubh?

The name comes from the Gaelic meaning 'dark knife' or 'black knife'. Although many sgian dubhs (it's pronounced something like 'skee-an doo') will have dark-coloured handles made from ebony or bog oak, the name is thought to reflect the way that the knife was hidden when being worn ('black' in the same sense as 'blackmail' or 'black ops').

There seem to be two main ideas about how the sgian dubh came to be part of Scottish national dress:

The first is that no one with any common sense in the old days in Scotland would completely remove all their weapons when visiting others - things were a bit too wild in the Highlands for that. To show respect and friendship to the hosts when in their house, visitors would put their knife into their hose, so that it was on show for all to see as an expression of good faith (although it could still be accessed in a hurry!). Another knife, called a sgian achlais, would also be worn under the armpit. Wearing the sgian dubh on show symbolises goodwill and friendship combined with an readiness to defend oneself if necessary.

The other influence on wearing sgian dubhs is thought by some to come from hunting. Knives are carried by hunters and ghillies in Scotland, so that deer can be skinned and gutted ('gralloched') in the field and brought back. Trying to get a dead red deer off a Scottish moorland in one piece would be a thankless task; far easier to cut it up first. Gralloching also involves removing the deer's intestines, which means the meat isn't tainted by gut contents.
The traditional design of a sgian dubh has small dimples along the back of the blade away from the cutting edge. I wonder if they echo the saw-type section on the blade of many hunting knives, which I suppose are used to cut through tough parts of a carcass?

Is it legal to carry a sgian dubh in public?

A sgian dubh is part of the Scottish national dress, so it is legal to carry one in public in England, Wales and Scotland when wearing that national costume. There are exceptions, such as particular kinds of knife (a flick knife just ain't gonna pass for a sgian dubh). Carrying any blade in security-sensitive places and onto aircraft is also not going to end well. The law may vary in other countries, best to check before heading out!


Making my sgian dubh


At first, I wanted to try and make the blade for my sgian dubh. However, blade making is a real skill involving knowledge of tempering steels and access to suitable equipment. I didn't have enough time to learn the craft of knifemaking to the level where I would be sure to be happy with the blade in use. I also fancied having a damascus steel blade (where layers of steel are fused together, to make patterns in the blade). Eventually, I decided to buy the blade from Rab and Tanya at Loch Ness Origins. It is carbon steel so will take a sharp edge, although it will need regular honing as it will dull relatively quickly. I think that it might be a bit brittle for very heavy work, but this knife isn't intended for that kind of use.

The sheath and handle were made from the piece of laburnum wood that you can see above. The tree grew in the garden of the house in which I was brought up, so it means a lot to me and has a strong family connection. My father would hang one end of a hammock from it for my mother to rest in when she was pregnant with me. The tree was felled long ago and the house has been sold since then.

First, the wood for the sheath was cut and sanded to make usable blocks to work with:


The blade was laid onto the blocks and its outline drawn around, remembering to flip the blade over in between so that the outlines and the blocks were a mirror image. I marked the edges of the blade onto the wood at the top and also measured and marked the position of the point of the blade, to make sure that the two sides matched up neatly:


The wood was then carved out carefully, to give the space inside the sheath. The sides corresponding to the back of the blade are slightly more hollowed out, as this part of the blade is thicker. I thought about putting a shim of copper into the sheath to protect it from damage, but decided this might just dull the blade and it wasn't really necessary anyway.


The two halves were carefully glued together using Titebond III and clamped. It took a few goes to make sure that the halves hadn't shifted out of alignment whilst being clamped. Note the bits of paper, to stop any leaked glue from sticking the workpiece to the clamping blocks.


The next day, I shaped the sheath with my trusty old Opinel carving knife, rounding the edges to make it comfortable to wear. The grain of the wood is visually quite striking, so I didn't want too much elaborate carving clashing with it. A simple Celtic knotwork pattern suited the overall design well. 


The handle was cut from the same piece of wood as the sheath, to give a continuous grain pattern running through both. I roughly shaped the end to go next to the sheath, so that I could shape the rest accurately and find the precise spot for the blade to be fitted in. With careful measuring, holes were then drilled to hold the tang of the blade. The hole also has a recess to hold the sloping shoulders of the blade, so that it fits in flush to the handle.


Shaping the handle was done with a knife. Using my Opinel was important to me in the process (as it is the blade that I learnt to carve with) and holding the handle as it was being shaped meant that I could constantly monitor how comfortable it felt in my hand.


Once the blade had been fitted and glued into the handle using slow-drying two-part epoxy (I find it less brittle than superglue or Titebond),  I noticed that it still moved a little in the sheath. Even though the fit was as snug as it could be, the blade could shift about and loosen itself a tiny bit. I decided to fit a tension spring made of silver (as it would be softer than the steel of the blade) into the sheath. At the same time, a piece of antique ebony veneer given to me by a friend many years ago gave a nice contrast to both the silver and the wood.


After gluing in the tension clip, I drilled a tiny hole and fitted and glued a pin made from silver wire, to give extra strength to the join. The clip is just a piece of flat silver, bent into a slight curve with a bit at the end bent to a right angle for fixing the clip onto a recess cut part-way into the veneer. The curved part is fitted over a shallow recess cut into the inside of the sheath. In hindsight, it would have been easier to fit it before gluing the halves of the sheath together, but it wasn't too tricky to do and the pinned silver does make a nice feature.


I then decided to use a stone to decorate the end of the handle, There were three choices, which you can see in the image above. The piece of jasper at the front was picked up by me from a stream in the Isle of Man. It was attractive but a bit too small. The larger reddish stone was collected from a stream in the Scottish borders. It was the right size and had the Scottish connection, however I wasn't sure about the colour or the strength of the stone itself. 

I decided on using the larger, paler coloured pebble. I picked it up on the beach at Peel, on the Isle of Man, in 1988. It is a kind of stone called microgranite containing a mineral called riebeckite and originally came from a small Scottish island called Ailsa Craig, which is in the Irish Sea. 

Image by Andy Hay, from www.rspb.org.uk
This kind of rock is rather special. It is used to make the 'stones' used in the sport of curling, with the only other source of material for curling stones being a single quarry in Wales. One company, Kays, has the exclusive rights to collect it from Ailsa Craig but they are forbidden from quarrying by blasting (as the island is a nature reserve), so must pick up stones that are already loose.

ailsa craig riebeckite

I cracked a piece from the stone, then spent a couple of hours trying to find it again after it shot off into a big pile of timber in my workshop! When it had been located again, it was ground down using diamond bits in a Dremel hand drill (not forgetting eye protection, dust extraction and a face mask) and then polished with jeweller's rouge. The groove around the stone will hopefully make it easier to set onto the handle, while the cross-hatching will give a key for the epoxy adhesive that I'm planning to use. 

After shaping the stone, I discovered that the island of Ailsa Craig has other names, one of which is Creag or Carraig Alasdair. It means 'Alasdair's Rock' in Gaelic; very appropriate!


At this point, the parts of the knife looked like this:


The next stage was to make silver ferrules, one to go around the handle next to the blade and another holding the stone in place. Again, I didn't have the time or the equipment to do a more technical silversmithing job like this, so I contacted local silversmith Amy R Lee. She made two beautiful silver ferrules and also sent them to Edinburgh to be assayed and hallmarked at the assay office there; a nice extra touch.


When the ferrules came back, the knife was assembled and then sharpened. It has taken a very good edge and is razor-sharp now, perfect for whittling with! I also finished the wood with a furniture wax and buffed the blade.  I'm very happy with it and I hope that you've enjoyed seeing how it was made.

Front
Reverse side

making my own sgian dubh


Friday, 21 June 2013

Visiting Patrick Small, a local woodcarver, ceramicist and jewellery maker

It was great to catch up recently with Patrick, who works from a studio at his home in Bristol. It's one of those studios that has a very cosy feel to it, filled with books, clippings from magazines and objects that he has collected along the way.


It's always interesting to see what he is making at the moment as Patrick's work covers carving, jewellery and ceramics. Recently, he has moved back to carving after making a lot of jewellery. One line of things being made at the moment are these ritual wands:


We ended up having a couple of pints at the local pub and having one of those chats that woodcarvers can only have with other woodcarvers:

"Ashley Iles are my favourite make of gouges. I love 'em, but I know that you don't get on with them"
" No, I find the steel too soft and I can never get a decent edge on them, although I love my new Ray Gonzalez hooked skew"
etc., etc.

Pity the other patrons sitting within earshot!

We also discussed things like the need to not undersell yourself as a maker. When chatting to the Icelandic carver Jón Adólf Steinólfsson earlier this year, he also noted this. 


Jón Adólf said that when it comes to pricing his work, he really values the opinion of his partner Karin as she can see it's value with a more objective eye than he can, as the maker of the work. Both Patrick and I noted that there is definitely a tendency amongst many makers that we know in Britain to play down their hard-won skills and to underprice their own products, to the detriment of marketing their work. Perhaps Jón Adólf's attitude towards marketing yourself is also influenced by his contact with the American craft makers' world, which seems to be much more direct in some ways than the frequently more reserved British approach. Making an effort not to be too modest and not to undersell yourself seems like a good approach to take to me.

Of course, however, one needs to be able to back up any claims that one makes!

If you would like to see more of Patrick's beautiful work, you can visit his website at:
http://www.smallcreations.co.uk

You can also see more about meeting Jón Adólf Steinólfsson at:
http://carvingswithstories.blogspot.co.uk/2013/03/woods-and-woodcarving-in-iceland-bit-of.html