
It was originally built with a very steep pitch and the turves laid on it were about 12 inches (30 cm) thick in places with little drainage. As they got wet, the weight of the roof grew until it pressed down hard enough to break one of the windows!

There was also a problem with drip points from the roof going straight onto the ashwood rafters, which were beginning to rot as ash isn't durable when repeatedly soaked outdoors.
This was making the roof potentially dangerous as the screws holding the fascia boards on were close to failing, which could have allowed tonnes of earth to cascade off the roof.
The first task was stripping the roof back to the underlying timbers. We discovered that the original builders had built it with slab wood overlying the ash rafters, then carpet, then straw, then damp proof membrane gaffer (aka duct) taped together, then another layer of carpet then finally turves dug up from around the site.
The turves came off fairly easily by just sliding them off on the underlying carpet. Digging the resulting piles up and moving them about the site was a lot harder!


We then stripped the black plastic damp proof membrane off and saw it had ripped in a few places. We will replace it with EPDM pondliner, as this is more durable although more expensive. Under the plastic was the straw and then more carpet. These both acted as insulation and will be replaced when relaying the roof.


By the end of the fourth day, we had stripped the roof, fixed in concentric terracing timbers (to try and give some break in the roof gradient and stop material creeping down the slope), relaid the insulating carpet and covered it all with the DPM to keep it waterproof until work can recommence next week.

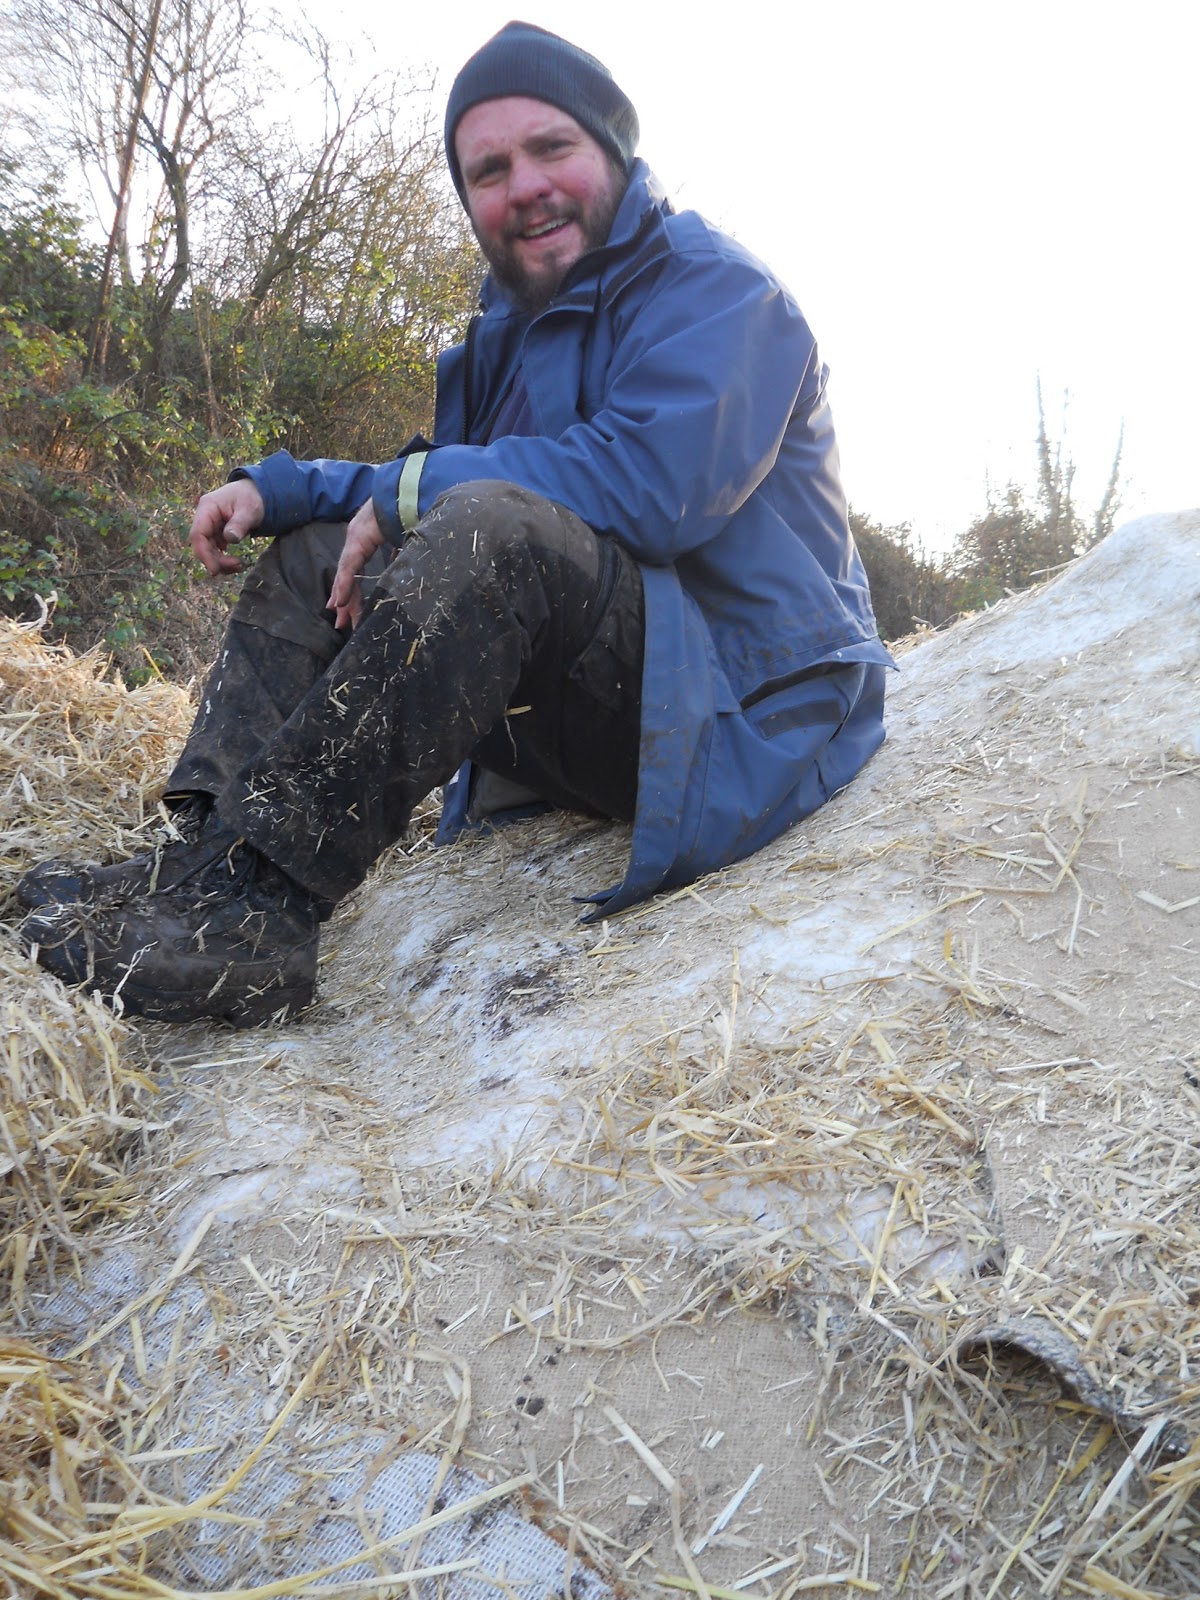
Many thanks to Oisin, Amrik and especially Simon for all their hard work and help this week.
Good thing you decided to start fixing the roof. From what I see in the picture, the thing seems to really start sagging down on the whole house. Hopefully you guys got to it on time. Seems a shame to lose the entire thing to a leaky roof.
ReplyDeleteMaricela Milum
Hi Maricela,
ReplyDeleteHopefully we've caught it in time. The ash rafters hadn't rotted too far so they didn't need to be removed, which would have meant the whole reciprocal roof being rebuilt (or, more likely, hiring some skips and sadly saying goodbye to the roundhouse).
We're hoping that the better drainage and lighter sedum cover will give the whole thing a new lease of life. I'm laying the last of the sedum mat today, so will put a post up this evening all being well. I hope you will agree it looks much neater now.
It still sags on one side a bit, but that's just how the timbers sit on the rafters and a bit of wonkiness does seem to suit these buildings well.
Thanks for getting in touch and all the best,
Alistair
Yes, it looks neater now, Alistair. Anyway, it is not unusual for reciprocal roofs to look a bit unkempt, especially that you used several pieces to cover it up. It's its charm actually. As long as you used sensible materials for the rafters and cover, it can be a reliable roof. Professional Roofing Contractors
ReplyDeleteIt may have taken you a long time to finish this roofing project, but it's fine. Remember that things are much better when you do it slowly, but surely. :) How was it? I think the only problem you had back then was the unpredictable weather, right? So, I'm hoping that everything turned out the way you wanted it.
ReplyDeleteNelson Mcglaughlin @ Royal Roofing & Siding
Hi Nelson and Lenore,
ReplyDeleteThank you for the supportive words about the roof rebuild. It certainly was a bit of an education fixing it and you're right Nelson, we had some of the most unpredictable weather to work around! It's looking great now though. The sedum is growing to cover the terracing timbers and it is so much neater than before, yet also retains that 'organic' kind of feel. The roof was also alive with bees when the sedum flowered, which was very satisfying to see.
One thing that we found was that foxes or some other animal could get on the roof from the uphill side and pulled the sedum mat about a bit to search for grubs underneath. I've put netting on stakes around that side of the roof now, which seems to have stopped that problem
(and also stops humans from getting up there and trampling the sedum-it is a public site after all). The netting is dark in colour, so doesn't stand out too much I hope.
I also needed to chuck a few buckets of water up there over the summer, contrary to reputation we've had a bit of a heatwave in Britain this year! It's looking great though, I can only thank the volunteers who helped to sort it all out as well! It's funny looking on the web, everyone says how great their roundhouse builds are but I haven't seen much in the way of ' Nope, it all screwed up and this is what we did to sort it out!'
I hope the posts have put a few ideas out for others who have had the same kind of problems.
All the best to you and all others reading the trials and tribulations of a roundhouse roof snagger!
Sounds like a lot of work. It's a good thing you had your friends help you out on the fixing job, isn't it? It took you guys a while but at least you were able to fix your roof before it dealt more damage to the whole structure.
ReplyDeleteJohn Francis @NVRoofs.com